
The Piano Roll
The piano roll is NeonDAW's MIDI editor. Draw notes, shape them, and hear every edit play back live through the track's instrument and effects.
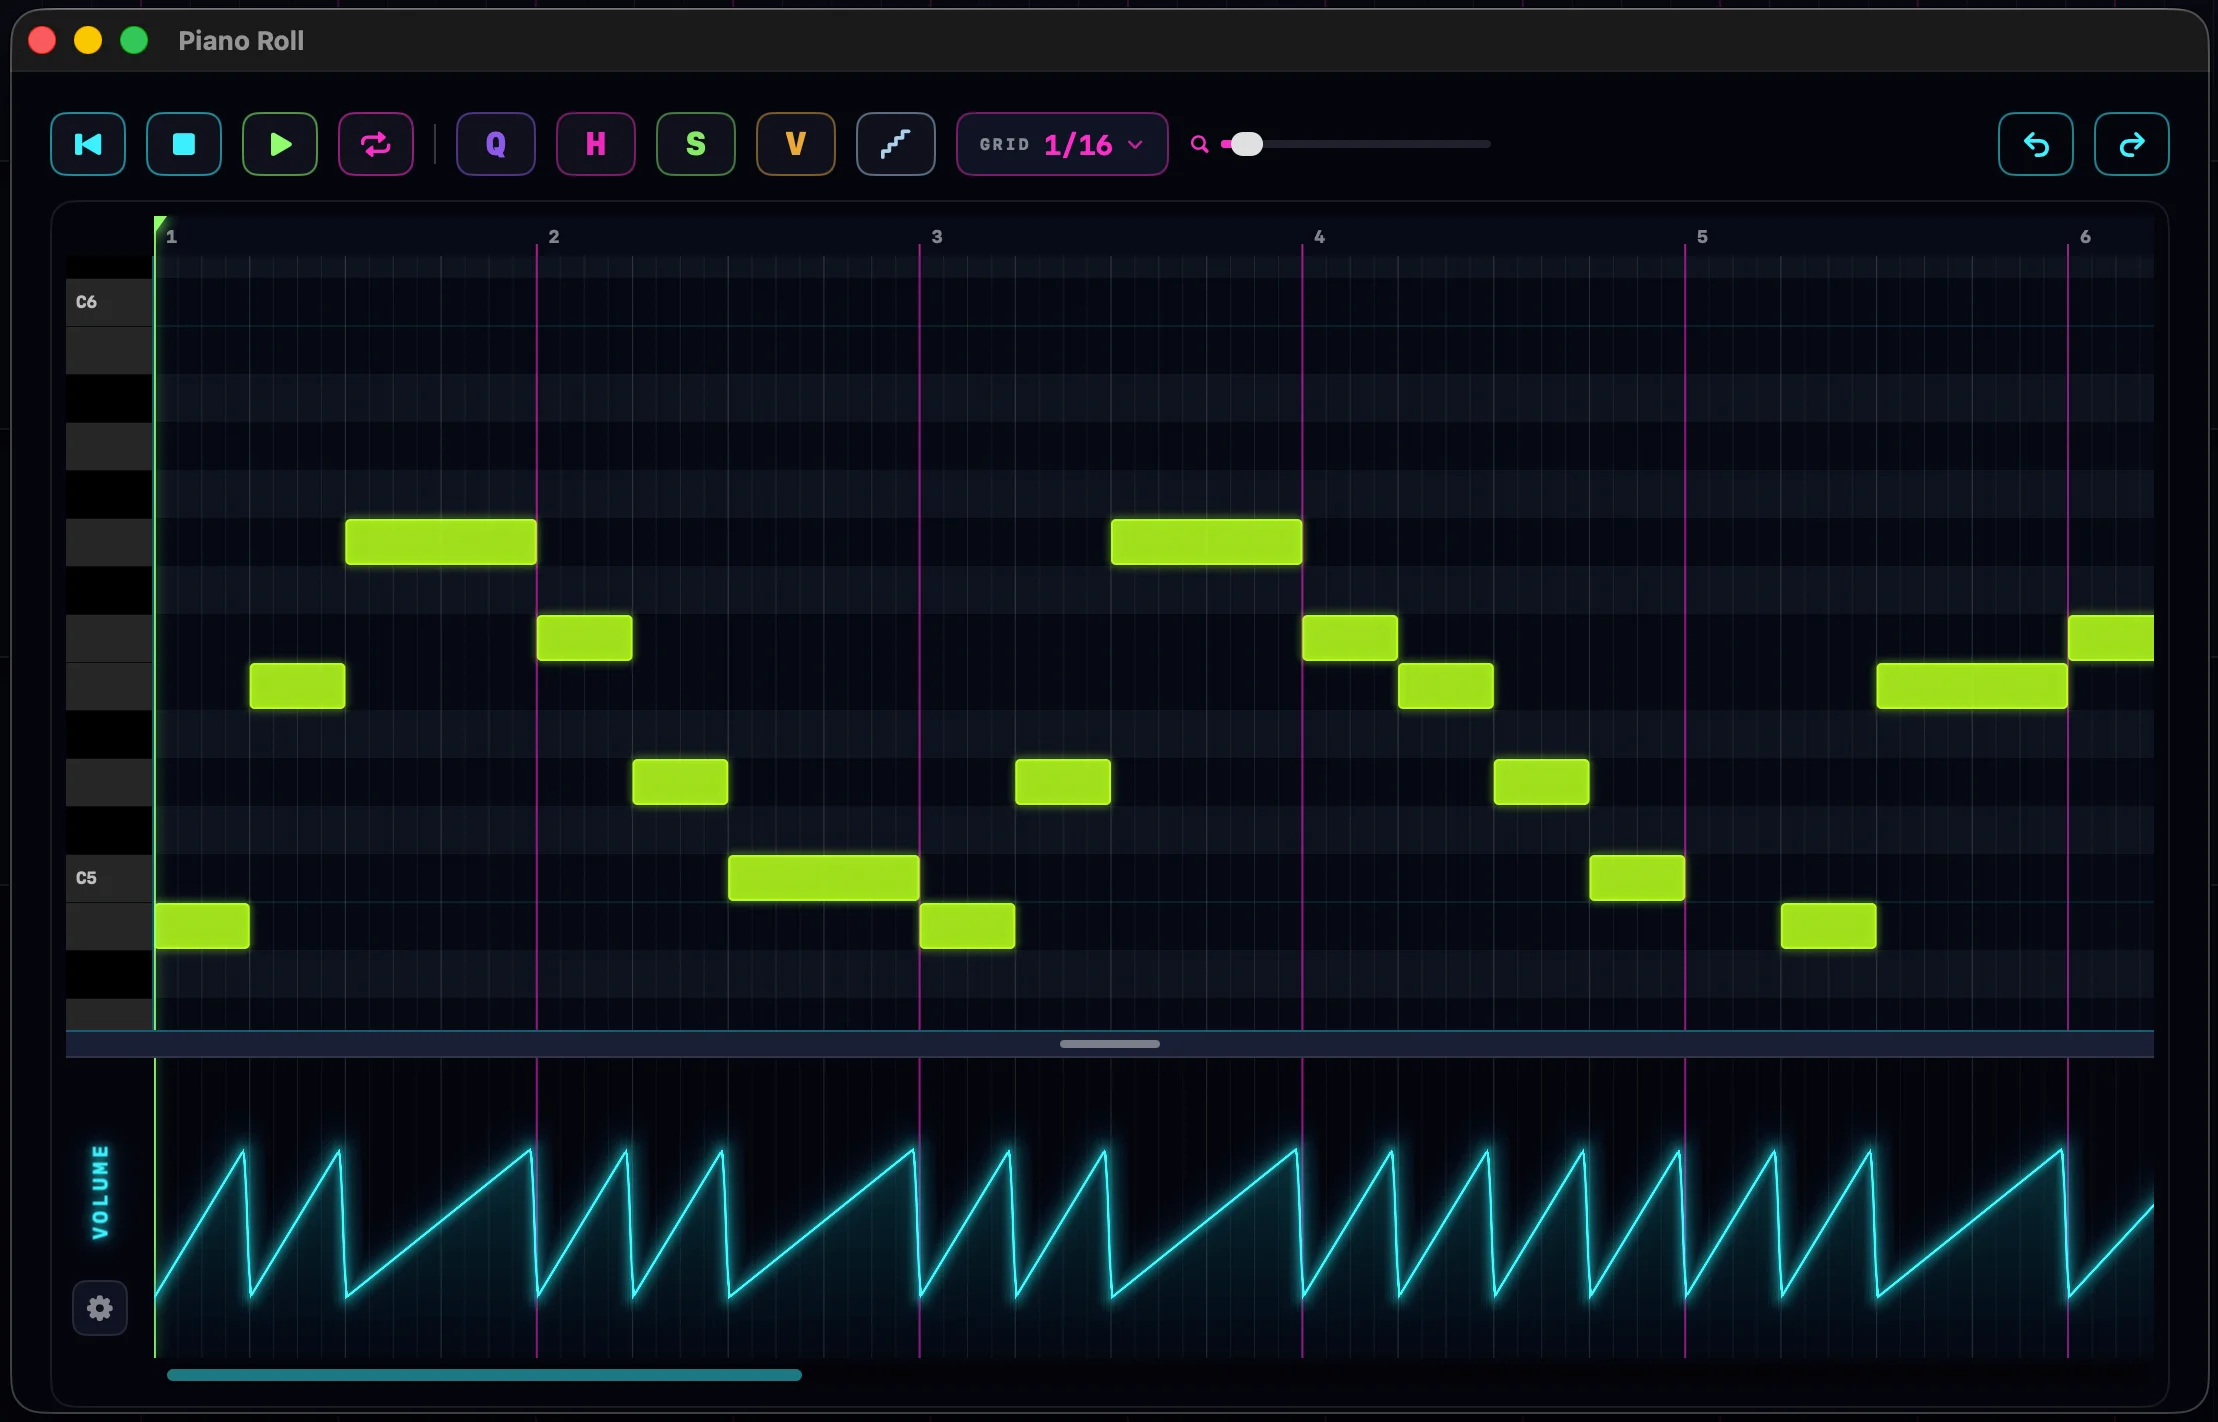
Opening the editor
Double-click any instrument clip. Or right-click it and choose Edit in Piano Roll.
The editor opens in its own window, so you can resize it or drag it to a second display. Close it with the red close button or Esc. The song keeps playing while you edit.
The layout
- Keyboard column: piano keys down the left edge. Click or drag along them to hear pitches.
- Ruler: the bar numbers across the top. Click or drag it to move the playhead.
- Note grid: the main area where notes live. Bar lines glow magenta, finer divisions fade in as you zoom.
- Toolbar: transport buttons, the edit tools, the grid menu, a zoom slider, and undo and redo.
- Automation panel: the band along the bottom. Drag the grab bar above it to make it taller or shorter.
Adding, moving and resizing notes
Add a note: click empty space. You get one note, one grid step long. Drag across empty space instead and you paint a note into every grid cell you cross: an easy way to lay down a run. With snap off, dragging draws a single note of exactly the length you drag.
Move a note: drag it. It snaps to the grid while snap is on, and you hear the pitch as it moves. Dragging a note that is part of a selection moves the whole selection together.
Resize a note: drag its right edge to change the length. Drag its left edge to move the start and keep the end in place. The cursor becomes a resize arrow near either edge.
Delete a note: right-click it. Or select some notes and press ⌫. Right-clicking a note that is inside a selection deletes the whole selection.
Selecting notes
- Click a note to select it.
- Right-drag across the grid to sweep a marquee over many notes.
- Press ⌘A to select every note in the clip.
- Click empty space to deselect.
Velocity
Velocity is how hard a note is struck. Notes are colored by it: cool colors are soft, hot colors are loud.
One note: double-click it. A small slider pops out next to the note. Drag it and you hear the change live. Click anywhere else to close it.
Every note: press V (or the V button) for velocity mode. Each note shows a dark line at its velocity height. Drag any note up or down to set it. Grab a note inside a selection and the whole group moves by the same amount, keeping the differences between notes. Press V again to leave the mode.
Cut, copy and paste
The usual keys work on the selected notes: ⌘X cut, ⌘C copy, ⌘V paste.
Paste lands at the playhead and keeps the notes' relative timing. The pasted notes become the new selection, and the playhead advances to their end: paste again and the phrase tiles back-to-back.
The Edit menu follows the focused window. With the piano roll in front it cuts, copies and pastes notes; in the main window it works on clips. See Cut, Copy & Paste.
The grid, snap and zoom
The GRID menu sets the grid unit, from 1/1 down to 1/64. New notes, moves and resizes snap to it.
Press S to toggle snap. With snap off, notes go exactly where you put them.
Zoom with the scroll wheel over the roll: the spot under your cursor stays put. ⌥-scroll makes the notes taller or shorter. The magenta slider in the toolbar zooms too.
Quantize, humanize and merge
Quantize pulls notes onto the beat. Press Q, pick a value, and the selected notes snap to it. With nothing selected, the whole clip is quantized. The quantize value is its own choice: it does not have to match the grid.
Humanize is the opposite. Press H, set the amount, and press APPLY: each note's timing and velocity is loosened by a small random amount, so a mechanical part breathes again. It works on the selection, or the whole clip when nothing is selected.
Merge joins notes on the same pitch into one long note. Select two or more notes that share a pitch and an M button appears in the toolbar. Click it or press M.
The splice tool
Hold C and the cursor becomes a blade.
- Click a note to cut it in two at that spot.
- Drag straight down to cut every note the line crosses at the same beat. Near-vertical drags snap perfectly vertical, so a shaky hand still cuts straight.
- Drag diagonally across stacked notes and each row is cut where the blade crosses it. The cuts stagger from row to row: perfect for building an instrument-by-instrument riser.
While you drag, a dot marks each spot the blade will cut. Release to cut. A vertical cut leaves the right-hand halves selected; a diagonal cut selects the left-hand halves, ready to delete.
Step recording
Step recording writes notes one grid step at a time, no timing skills required. Click the stairs button in the toolbar to arm it.
- Play a note and it lands at the playhead, one grid step long. The playhead moves forward one step.
- Hold a chord and the whole chord lands on one step. The playhead advances when you let go.
- It hears everything: your MIDI keyboard, the typing keys, and the chord pad.
Move the playhead by clicking the ruler to step-record anywhere in the clip. Step entry pauses while the transport plays or records, and switches off when you close the editor.
Looping and playing inside the editor
The transport works from inside the editor: Space plays and pauses, ⇧Space plays from the start, Return stops, and ⇧Return jumps back to the start.
Press L (or the loop button) to loop. A magenta loop bar appears in the ruler: drag it to move it, or drag its ends to resize it. It snaps to the grid while snap is on. Whichever window is in front, the editor or the main window, owns the loop region.
The clip window
The washed-out area past the clip's edges is outside the clip. Notes out there still exist, they just don't sound: clip edits are non-destructive windows, so a trimmed tail is waiting if you ever want it back.
The boundary line between lit and washed-out is a handle. Drag it to resize the clip without leaving the editor. Drawing notes past the end simply grows the clip. See Clips & the Arrangement for how the same edits work on the timeline.
The automation panel
The band at the bottom of the editor draws automation in the clip's own beat space.
Click the gear button at the panel's left to pick what you're editing: the mixer lanes (volume, pan, attack), any existing plugin channel, or any parameter of any plugin on the track. Picking a parameter creates its channel on the spot. There's a search field when the list gets long.
- Draw by dragging across the lane. The line follows your stroke smoothly.
- ⇧-drag to draw a vertical wall: a hard step at one beat.
- Right-drag to erase points.
- Double-click near a point to show a curve handle, then drag it to bend the segment into an eased curve.
Drawing into an empty mixer lane creates that automation channel on the track. Velocity is not an automation lane: it belongs to the notes themselves, so edit it in velocity mode. The full story lives in Automation.
Undo and per-clip memory
The editor has its own undo history, separate from the arrangement's. ⌘Z undoes and ⇧⌘Z redoes note edits while the editor window is in front. Undo even restores the selection you had at that step.
The editor also remembers how you left each clip: the grid, snap, velocity mode, step record, and the chosen automation lane all come back when you reopen it.
Every shortcut on this page is also in the Keyboard Shortcuts table.