
Automation
Automation moves a control for you over time: a volume fade, a filter sweep, a slow pan. Draw the move once and it plays back with the song, every time.
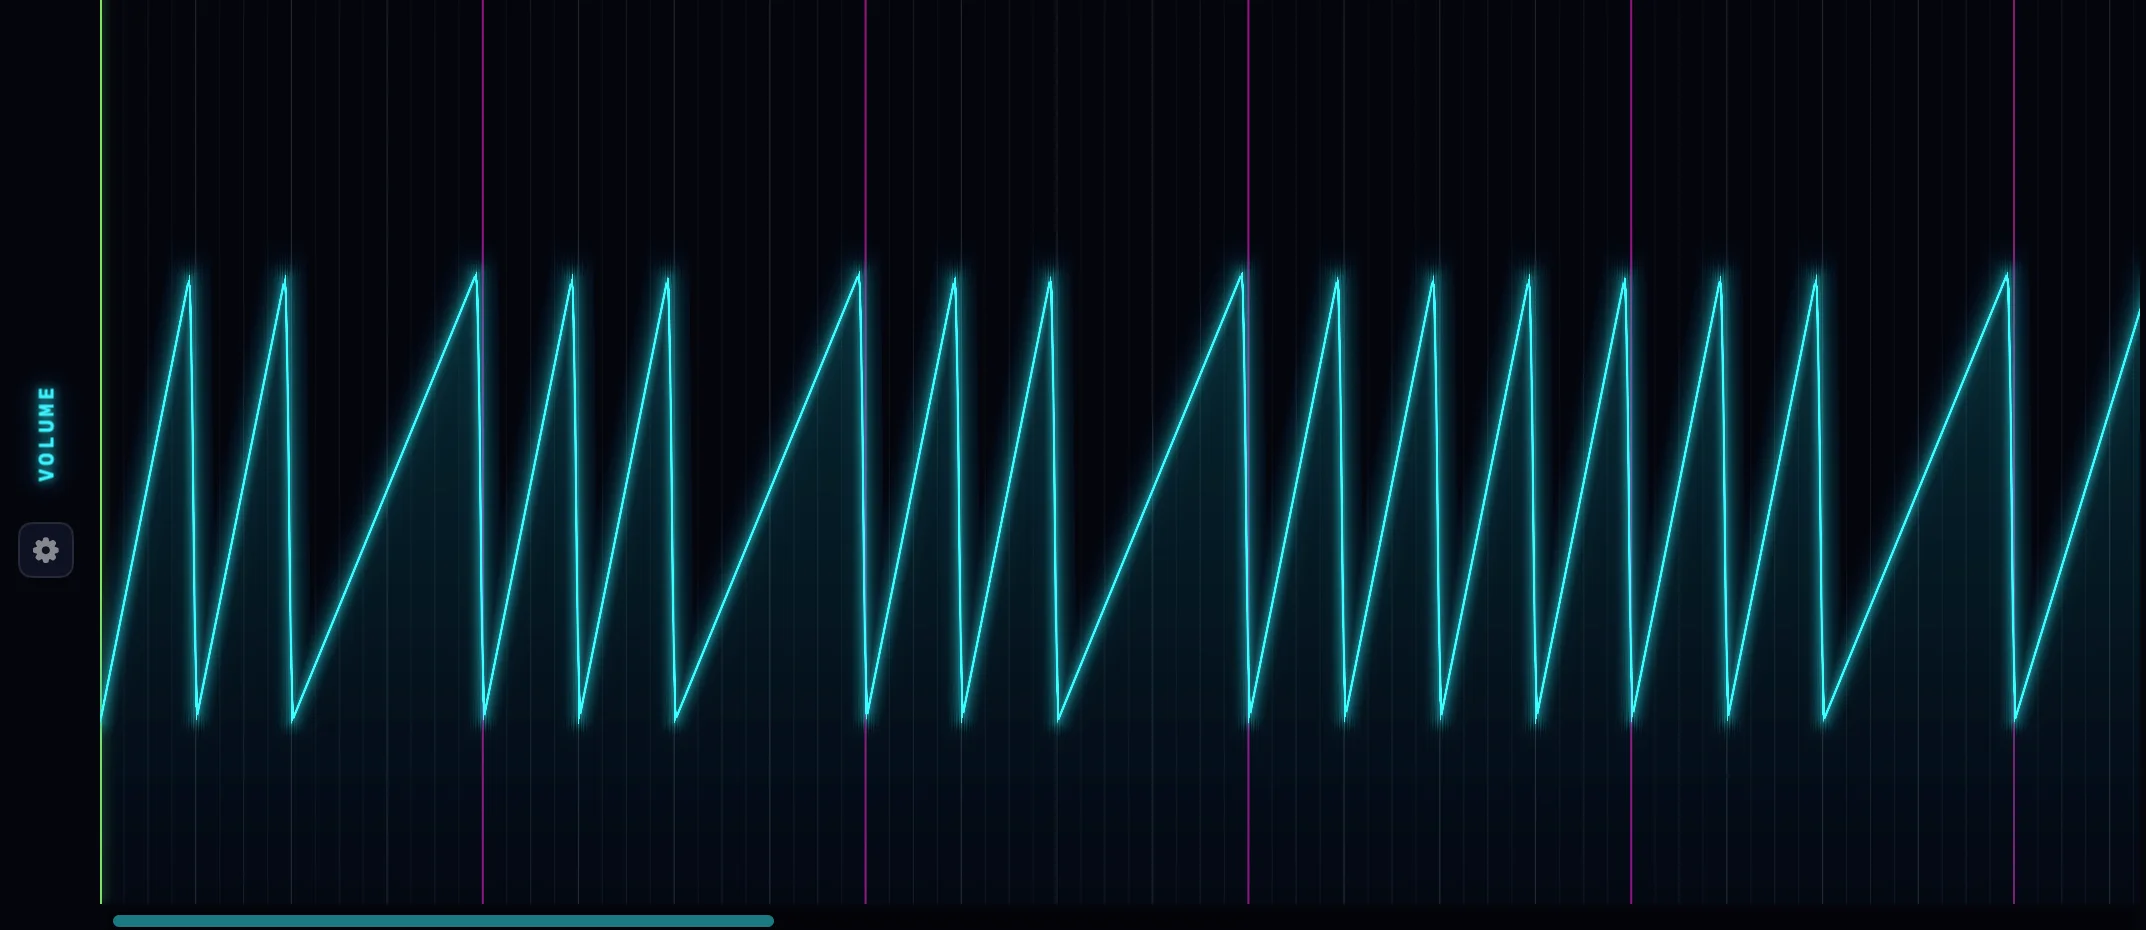
What automation channels are
An automation channel is a lane that belongs to a track and drives one control: the track's volume or pan, or any knob on its instrument or effects. The lane spans the whole timeline, so one channel can shape the entire song.
Each channel wears the color of the knob it drives, in the lane, in the editor, everywhere. That makes it easy to tell a cutoff sweep from a volume ride at a glance.
As automation plays back, the knob it drives moves in real time.
Creating a channel
Right-click the control you want to automate and choose Create Automation Channel. That works on:
- The volume and pan knobs on track headers and group headers.
- Every knob on the built-in instruments.
- Every knob on the built-in effects.
For a third-party AU effect, right-click its row in the FX chain and pick parameters from the Automation menu.
The same right-click removes a channel again: Remove Automation Channel.
Effects on the master bus don't offer automation channels. Automation lives on tracks and groups.
The AUTOMATIONS fold-out
A track with channels grows an AUTOMATIONS band at the bottom of its row, with the channel count next to it. Click the band to fold the lanes open or closed.
- Each channel is one drawable lane under the track.
- Click a channel's color dot to collapse just that lane to a sliver, and again to restore it.
- Drag a lane's bottom edge to resize it. A taller lane is easier to draw in.
Drawing on a lane
Hold the left mouse button and draw. The lane follows your hand, laying points along the stroke. Right-drag erases. Each stroke is one undo step, so ⌘Z takes back the whole gesture.
Eased curves vs straight lines
Between two points the value normally travels in a straight line. In the piano roll's automation panel you can bend it: double-click near a point to show its curve handle, then drag the white handle up or down. The segment bows into an eased curve, gentle at one end and steep at the other. Drag it back to the middle for a straight line again.
Hold ⇧ while drawing in the editor's automation panel to draw a vertical wall: an instant jump at one beat. Handy for hard cutoffs.
Resetting a lane, removing a channel
Each channel's header strip has two buttons:
- The circular arrow resets the automation: the points clear, the channel stays.
- The trash can removes the channel entirely.
Editing automation inside the piano roll
The piano roll has its own automation panel. Pick a lane there, mixer controls, instrument parameters or effect parameters, and draw in the clip's own beat space while you edit notes. It is the same data as the arrangement lanes, seen through the clip.
MIDI Learn: hardware knobs
Any channel can be driven by a knob, fader, mod wheel or pedal on your MIDI controller.
- Right-click the channel's header (or the knob itself) and choose Learn MIDI CC.
- Move the hardware control you want. The wiggle links it, and the channel shows its CC number.
- The same menu offers Relearn MIDI CC and Unlink.
While your hand is on the control, it drives the parameter and the drawn lane yields. Let go and the automation resumes. While a recording take rolls, your moves print into the lane, replacing what they sweep: one undo step per take.
Hardware moves route like notes do: armed tracks respond first, otherwise the selected track. The link is saved with the project.
Rebind Automation
When you replace a plugin, channels whose parameters exist on the new one transfer by themselves. For the rest, right-click the channel's header and choose Rebind Automation.
A picker window opens: sources down the left (the track strip, the instrument, every effect insert), and that source's parameters on the right, each tinted like its knob. Pick a new home and the drawn points ride along. Parameters another lane already drives are marked IN USE.
Saved with the project
Channels, points, curves, lane sizes and MIDI CC links all live in the .neon project file. Open the project anywhere and the mix moves with it.