
The Drum Machine
Each row is a sample. Click steps to place hits, loop the pattern while you tweak it, then stamp it onto the timeline as a clip.
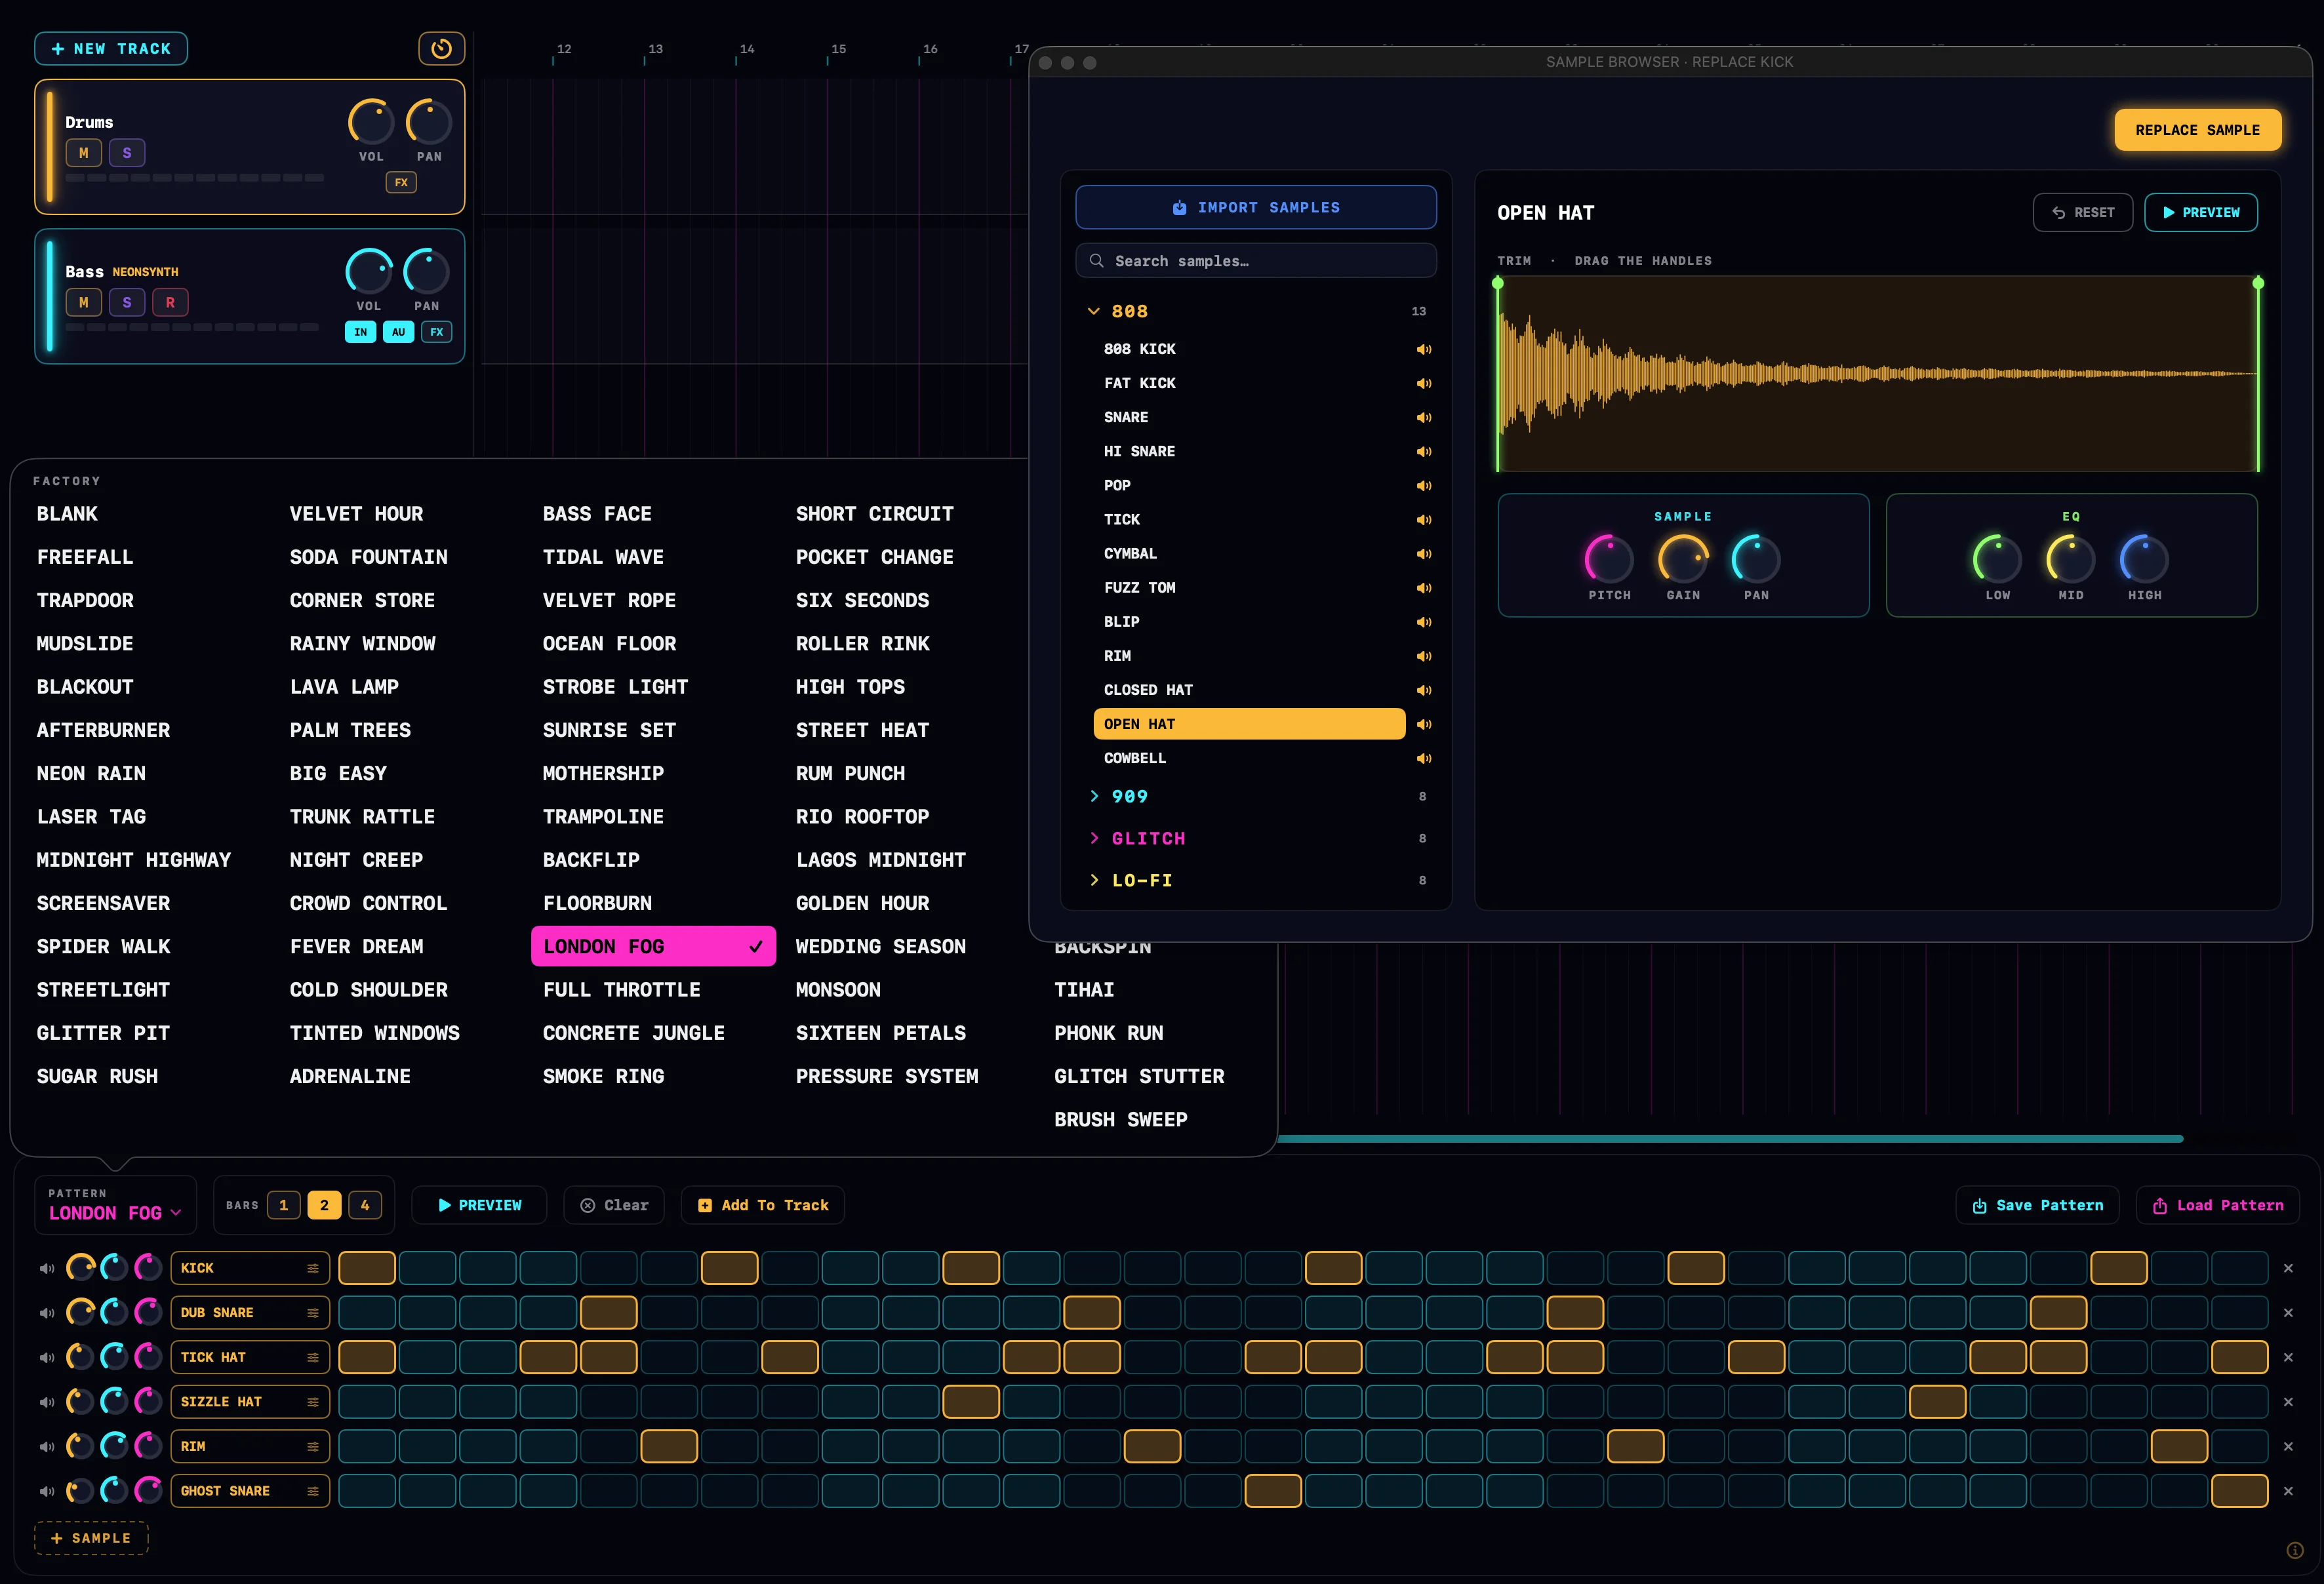
Opening the drum machine
Click the grid button in the transport bar, or press ⌘D. The drum machine opens in the panel slot at the bottom of the main window, the same slot the chord pad and mixer use.
The faint ⓘ badge in the panel's corner opens a short explainer card right inside the app.
The step grid
Samples run down the left, steps run to the right. Click a cell to place a hit; click it again to remove it. Drag across a lane to paint: the first cell you touch decides whether the drag adds hits or erases them, and new hits audition as they land.
The cells are shaded in beat groups so you can see the meter at a glance, and a lime column sweeps the grid while the pattern loops.
Pattern length
The BARS chips set the pattern length: 1, 2 or 4 bars. The number of steps in a bar follows the project's time signature: 16 steps per bar in 4/4, 12 in 3/4 or 6/8, 14 in 7/8, and so on. Every step is a 16th note.
The bar count is sticky. Switch factory patterns and they tile or trim into your chosen length instead of changing it.
Factory patterns
The PATTERN menu seeds the grid with a groove. In 4/4 you get the FACTORY bank, a spread of genres from four-on-the-floor to halftime, plus a TURNAROUNDS bank of one-bar fills like TOM CASCADE and AROUND THE KIT. In other meters the menu shows a bank written for that time signature instead.
Picking a pattern replaces what's on the grid, so save your own work first if you want to keep it. The BLANK pattern is the empty canvas: a four piece kit with no steps.
Previewing the loop
PREVIEW loops the pattern at the project tempo. Tweak it while it plays: every cell, knob and sample swap lands in the running loop. Press STOP (or start the transport) to end it.
The loop keeps rolling even if you switch the panel away, so you can jam chords over the groove. A small green dot on the drum machine's transport button shows it is still looping while the panel is hidden.
Adding the pattern to the timeline
Add To Track stamps the grid onto a drum track as a clip at the playhead, snapped to the nearest 16th. It targets the selected drum track, else the first drum track in the project, and creates a track named DRUMS 1 if there is none.
After the stamp, the playhead parks at the end of the new clip. Tweak the grid and add again, and the next clip lands right after: an add, tweak, add loop for building a beat section by section.
Editing a placed drum clip
Double-click a drum clip on the timeline and the grid becomes that clip. An amber EDITING CLIP chip appears, and every edit writes straight back to the clip, live.
Click the chip's ✕ to stop editing and return to your selected pattern. The clip keeps its notes; the machine keeps no copy.
Lane controls
Each lane is a little mixer channel for its sample. Its settings apply everywhere the lane sounds: the preview, auditions, and every placed clip.
| Control | What it does |
|---|---|
| Speaker | Auditions the lane's sample once. |
| Amber knob | Lane volume. Right-click to reset. |
| Cyan knob | Lane pan. Right-click to reset. |
| Magenta knob | Lane pitch, ±12 semitones. Right-click to reset. |
| Sample name | Opens the sample browser on this lane. Browsing is live: each sample you click swaps into the lane as you audition. |
| ✕ | Removes the lane. |
To reorder lanes, drag a row up or down by any free spot; an amber line marks where it will land. To add a lane, click + SAMPLE: the sample browser opens so you can pick, trim and shape a sound for it.
Saving and loading patterns
Save Pattern stores the grid under a name: the steps, the lanes and their knob settings. Load Pattern brings a saved pattern back; the list is searchable, shows each pattern's length in bars, and the trash button deletes one after confirming. Saving with an existing name replaces that pattern.
Clear wipes every step but keeps the lanes, so you can punch in a fresh beat on the same kit.
Converting a drum clip to MIDI
While you are editing a placed clip, a Convert to MIDI button appears. It turns the clip into a regular MIDI clip you can open in the piano roll, for edits the grid can't make: off-grid timing, velocity shaping, note lengths.
Conversion is one way. The clip stays on its drum track and keeps its kit sounds, but double-clicking it now opens the piano roll instead of the grid.
How drum clips work
A drum clip is MIDI underneath: each pitch row is a kit slot, and each slot maps to a sample with its lane settings. The whole kit, including any samples you imported, is saved inside the .neon project, so a project opens sounding exactly as you left it on any Mac.