
The Assistant
NeonDAW has a built-in link for AI assistants. Connect one and it can edit the open project for you: tracks, notes, drums, mix and automation, every change one undo away. This chapter has the full setup for every major assistant, no MCP experience needed.
What it is
NeonDAW has a built-in MCP server. MCP (the Model Context Protocol) is the open standard AI assistants use to work with apps: the assistant asks NeonDAW what it can do, NeonDAW hands over a set of tools, and the assistant uses them to make real edits in your project. Turn it on and any MCP client on your Mac can read and edit the open project.
You don't need to know anything more about MCP than that. Find your assistant below and follow its steps once. After that, connecting is automatic.
Step one: turn it on in NeonDAW
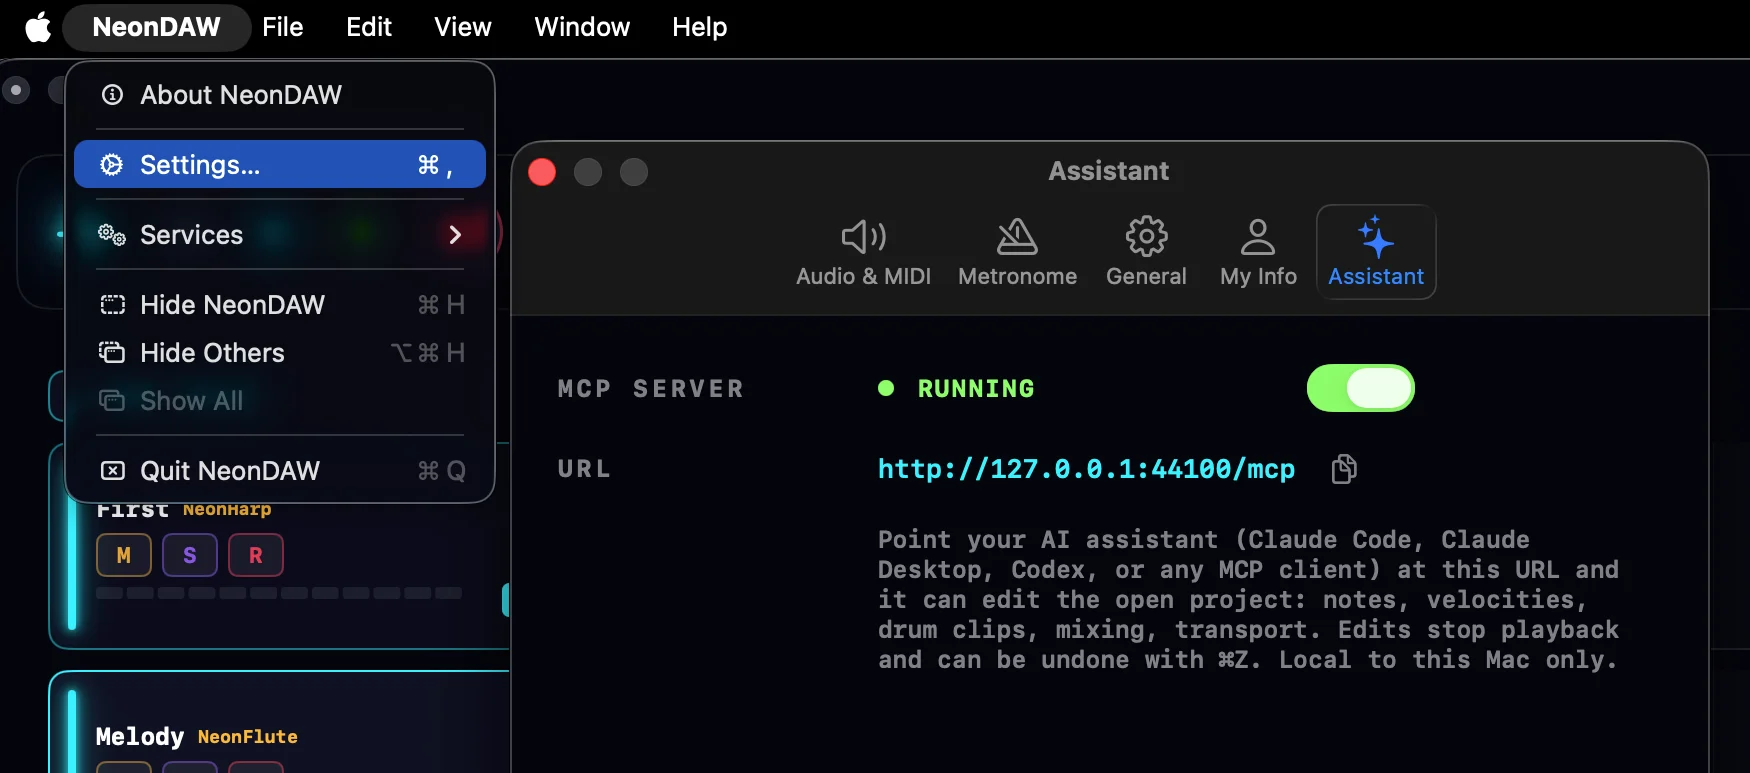
- Open Settings > Assistant and flip the switch. The status dot turns green.
- Note the URL:
http://127.0.0.1:44100/mcp. The copy button next to it puts it on your clipboard. Every guide below uses this address.
The address 127.0.0.1 means "this Mac". Only programs running on your own computer can reach the server. It is off by default, and the switch remembers your choice across launches.
Step two: connect your assistant
Each guide below is complete on its own: find yours and follow it top to bottom. All four assistants run on your Mac, which is what lets them connect directly. A chat tab in a web browser cannot see a server on your computer, so pick one of these instead. If you have a ChatGPT account, that's Codex.
Claude Code
Anthropic's assistant for the terminal, with a desktop app and a VS Code extension that share the same setup. It needs a paid Claude plan (Pro or above).
- Install it, if you haven't. Open Terminal (Applications > Utilities > Terminal) and paste:
Then runcurl -fsSL https://claude.ai/install.sh | bashclaudeonce and follow the sign-in prompts in your browser. - Make sure NeonDAW is open with the assistant switch on.
- Register NeonDAW. One line, one time:
Theclaude mcp add --scope user --transport http neondaw http://127.0.0.1:44100/mcp--scope userpart makes it available no matter which folder you start Claude Code from. - Check it worked: run
claude mcp listand look for neondaw · Connected. Inside a session, type/mcpto see NeonDAW's tools. The first time Claude touches your project, it asks permission.
To remove it later: claude mcp remove neondaw. The Claude Code desktop app and the VS Code extension read the same configuration, so this one command covers all three.
Claude Desktop
Anthropic's chat app. It reaches local MCP servers through a small helper called mcp-remote that needs Node.js on your Mac. The helper fetches itself automatically; you only install Node.
Skip the "Add custom connector" form under Settings > Connectors for this. That form is for servers on the public internet: Claude's cloud does the connecting there, and it cannot reach a server that lives on your Mac.
- Install Node.js if you don't have it: download the LTS installer from nodejs.org and run it. To check, type
node --versionin Terminal: v18 or newer is fine. - Make sure NeonDAW is open with the assistant switch on.
- In Claude Desktop, open the Claude menu in the macOS menu bar and choose Settings, then the Developer tab, then Edit Config. This reveals a file called
claude_desktop_config.json.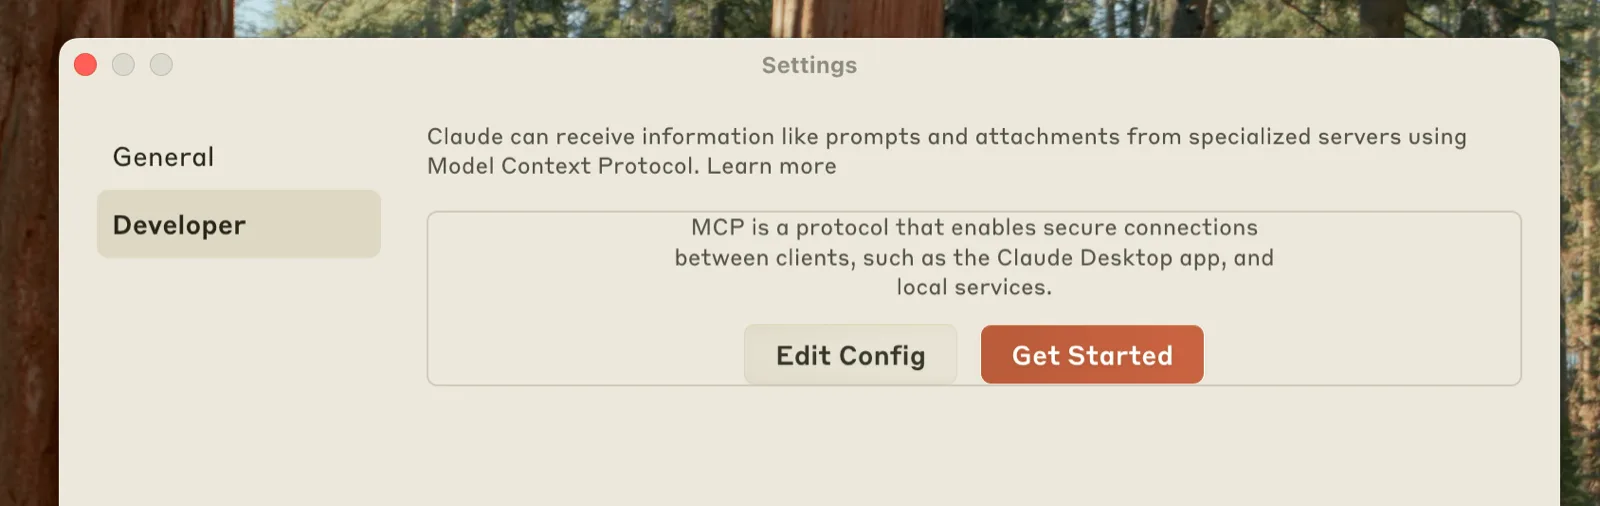
- Open that file in any text editor and give it these contents. If the file already has an
"mcpServers"section, add the"neondaw"entry inside it. Save the file.{ "mcpServers": { "neondaw": { "command": "npx", "args": ["-y", "mcp-remote", "http://127.0.0.1:44100/mcp", "--transport", "http-only"] } } } - Quit Claude Desktop fully (⌘Q) and reopen it. The app only reads the file at launch.
- Check it worked: in a new chat, click the sliders button in the corner of the message box, then Connectors. NeonDAW should be listed; click it to see its tools.
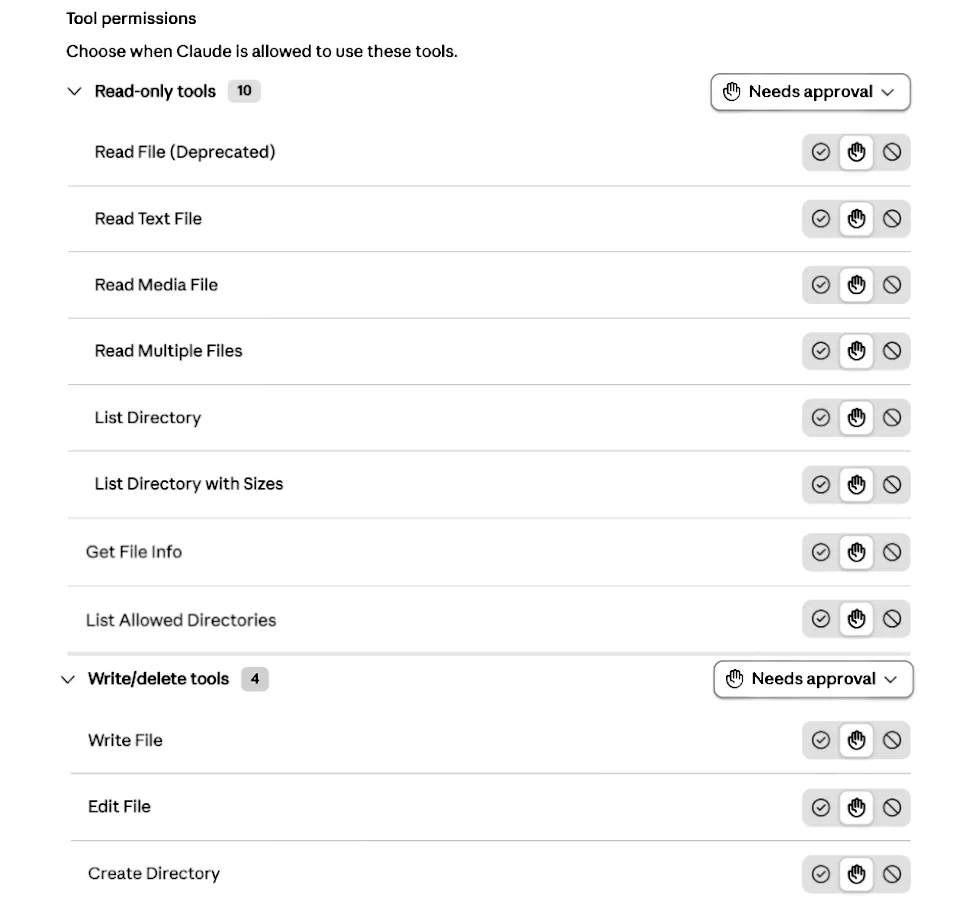
To remove it later, delete the "neondaw" block from the file and restart the app.
Codex
OpenAI's coding assistant: a terminal app plus an IDE extension, signed in with your ChatGPT account (paid plans, Plus and up). If you use ChatGPT, this is the way to drive NeonDAW with it.
- Install it, if you haven't. In Terminal:
Then runcurl -fsSL https://chatgpt.com/codex/install.sh | shcodexonce and choose Sign in with ChatGPT. - Make sure NeonDAW is open with the assistant switch on.
- Register NeonDAW:
codex mcp add neondaw --url http://127.0.0.1:44100/mcp - Check it worked: run
codex mcp list, or type/mcpinside a session.
To remove it later: codex mcp remove neondaw. The terminal app, the IDE extension and the ChatGPT desktop app's Codex view share this configuration, so one add covers all three.
Grok Build
xAI's coding agent for the terminal. Sign in with a SuperGrok or X Premium Plus subscription, or an xAI API key.
- Install it, if you haven't. In Terminal:
Then runcurl -fsSL https://x.ai/cli/install.sh | bashgrokonce and sign in through the browser window it opens. - Make sure NeonDAW is open with the assistant switch on.
- Register NeonDAW:
Prefer clicking? Inside Grok Build, typegrok mcp add --transport http neondaw http://127.0.0.1:44100/mcp/mcps, press A, and paste the URL into the form. The name fills itself in.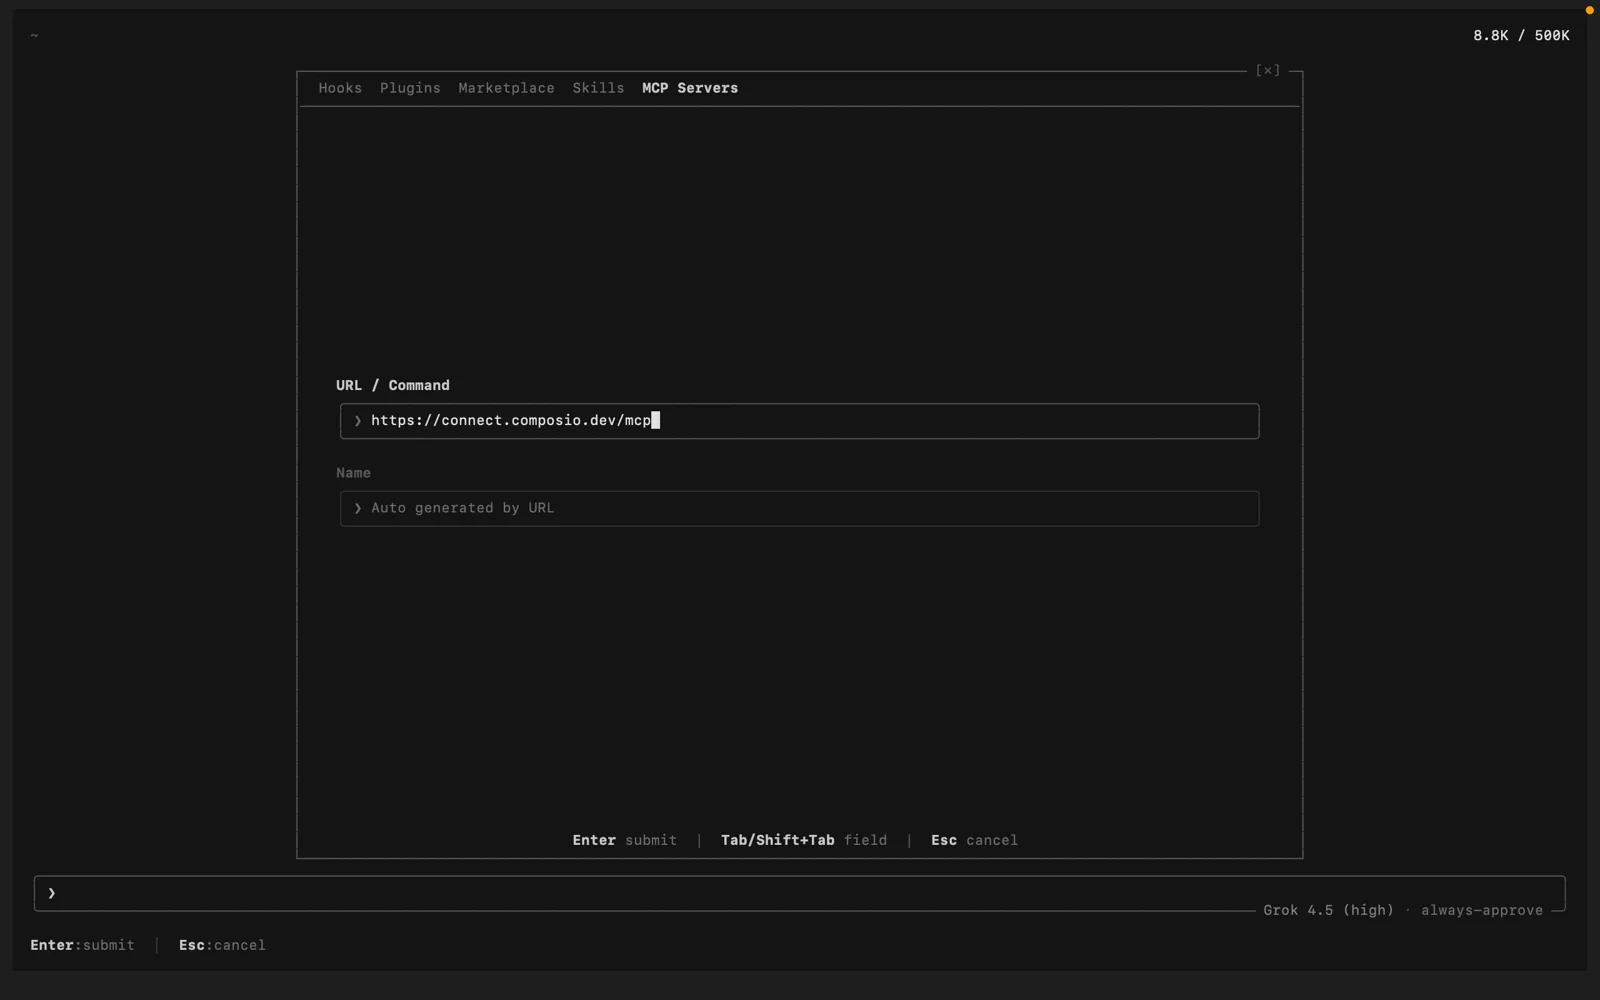
- Check it worked:
grok mcp listshows the server, andgrok mcp doctor neondawruns a full connection check. In a session,/mcpslists NeonDAW under LOCAL with its tool count.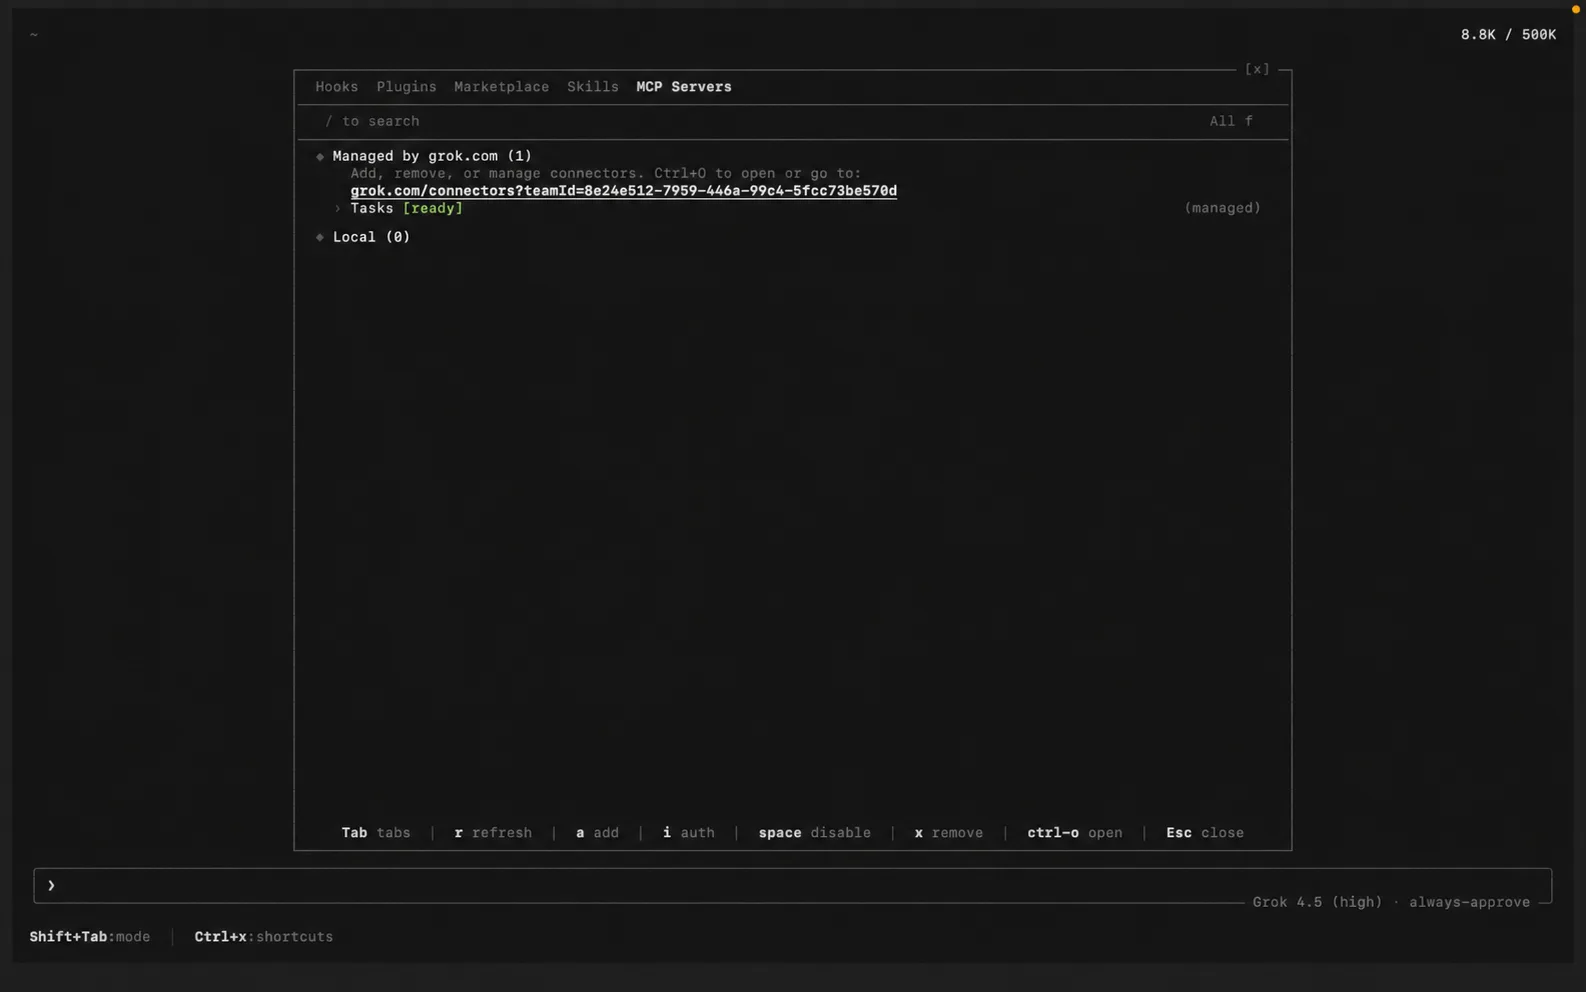
To remove it later: grok mcp remove neondaw. Already set up Claude Code? Grok Build reads the same configuration automatically, so NeonDAW may appear with no setup at all.
If it won't connect
- Is NeonDAW running? The server only answers while the app is open.
- Is the switch on? Settings > Assistant, green dot.
- Is the URL exactly
http://127.0.0.1:44100/mcp? No https, no trailing slash. - Terminal assistants: a server registered while NeonDAW was closed shows as failed until the app is open. Start NeonDAW, then check again with
claude mcp list,codex mcp list, orgrok mcp doctor neondaw. - Claude Desktop: quit fully with ⌘Q and reopen after every config edit, and confirm Node.js is installed (
node --version).
What it can do
The assistant works with the project the way you do:
- Tracks: create, rename, reorder, duplicate, color, and group them.
- Clips and notes: build clips, add and edit notes, adjust velocities, quantize and humanize.
- Chords and drums: lay down chord progressions and drum patterns, add and tweak drum lanes.
- Instruments and presets: put an instrument on a track and pick its preset.
- FX chains: add, remove, reorder and adjust effects on any track, group or the master.
- Mix and automation: set volume and pan, mute and solo, and draw automation.
- Tempo and markers: set the tempo, shape ramps, and place video hit markers.
- Transport and undo: move the playhead, play and stop, and step back through edits.
There's no separate import path for its work: an assistant edit is a normal edit, and it plays back through your instruments and effects like anything else.
Safety
- Local only. The server answers on this Mac and nowhere else.
- Every edit stops playback first, so nothing changes under a rolling transport.
- Every edit is one undo step. ⌘Z takes it back, same as your own edits.
- A toast pops up describing what the assistant just changed, so nothing happens silently.
Prompts to try
- “Add volume swells to the chords on track 1.”
- “Quantize the drums to 16ths and ease the velocities.”
- “Draw a filter sweep that opens up over the chorus.”
- “Create 4 blank violin MIDI tracks, add reverb and group them.”
- “Sketch a lo-fi drum pattern at 84 BPM and put it on the timeline.”
- “Ride the vocal up a couple dB in the last chorus.”
Give it the boring job, not the creative one. Scaffolding tracks, cleaning timing, evening out velocities: the assistant clears the busywork so you stay in the flow.